Our newest crop from the Indonesian archipelago, try before its gone!

The Art of Crafting Exceptional Cold Brew at Home
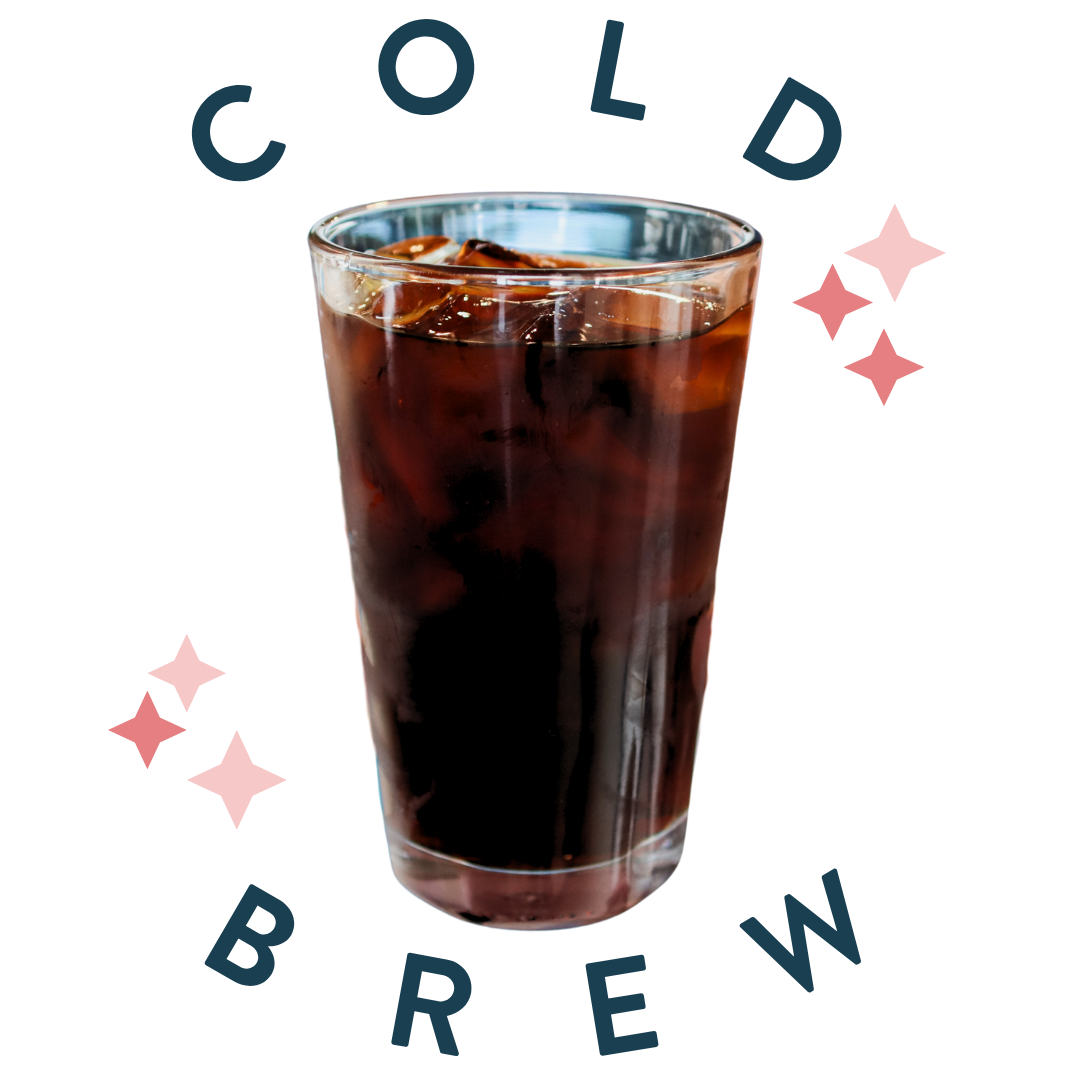
Cold Brew. The epitome of summer drinks when the temps hit the 80s. Don’t be fooled—it may look like iced coffee, but this smooth operator is doing its own thing. Cold brew is made by steeping coffee grounds in cool water for hours on end.. Iced coffee? That’s just regular joe poured over ice. Cold brew’s mellow, sweet vibe and low acidity make it a chart-topper on its own or paired with milk, cream, syrup—whatever quenches your thirst. This guide will help you become a master at brewing it at home.
The Foundation: Coffee and Water
The journey begins with your choice of coffee. Opt for coarsely ground coffee, as this is crucial for the cold brew process. Finer grinds can lead to over-extraction and a cloudy, bitter concentrate. While any coffee can technically be used, experimenting with different roasts and origins will uncover your personal preferences. Many find that darker roasts lend themselves well to cold brew, offering rich chocolate and nutty notes, while lighter roasts can showcase bright, fruity undertones.
For a “standard batch” which will yield you about a gallon of concentrate, you’ll need:
12oz Bag of Coffee (Coarse Ground).
3 quarts of cold water (3/4 gallon).
As in all brewing, use the highest quality water available
A fine mesh strainer, large tea bag, or a paper towel over your colander
A vessel that can hold at least 1 gallon.
(Preferably one with a tightly fitted lid.)
For the water, simply use fresh, filtered water. Just as with any coffee brewing method, the quality of your water will directly impact the final taste of your cold brew.
The Vessel: Your Brewing Sanctuary
Your choice of vessel is entirely up to you, as long as it's clean and can be sealed. Popular options include:
Large Mason jars: Affordable, readily available, and easy to clean. Lower concentrate yield however.
French presses: The built-in plunger makes straining a breeze, though you'll likely need a larger one if brewing in bulk.
Dedicated cold brew makers: These often come with integrated filters for added convenience. Toddy is the gold standard.
Large pitchers or containers: Ensure they have a lid for covering.
The Immersion: The Magic Happens
Once you have your coffee and water, the process is delightfully straightforward:
Combine: Carefully pour your coarsely ground coffee into your chosen vessel. Then, gently add your water, ensuring all the grounds are fully saturated. Stir briefly to ensure even saturation. Mix after a short time after a"crust" develops, push the grounds back into the water and mix until all coffee is evenly saturated.
Cover: Securely cover your vessel. This prevents any unwanted odors from contaminating your cold brew and helps maintain a consistent temperature.
Refrigerate: Place your covered vessel in the refrigerator. The cool temperature slows down the extraction process, leading to a smoother, less acidic concentrate.
Wait and Conquer: Now comes the easiest part: go forth and do a bunch of awesome stuff! This is where the magic of cold brew truly shines – it requires minimal active attention once the initial setup is complete.
The Optimal Steeping Time
Patience is a virtue when it comes to cold brew. The ideal steeping time ranges from 15 to 18 hours. This timeframe allows for a thorough extraction of flavors without over-extracting bitter compounds. 15 hours will yield a lighter, brighter cold brew. Whereas 18 hours will produce a bolder, more concentrated flavor.
It's always a good idea to write on a note or piece of tape when you start brewing your cold brew, and the time you’ll filter it. For example, if you start brewing at 3PM, your cold brew should be ready to be filtered at 6AM, ready for the morning commute!
The Filtration: Separating the Good, the bad, and the Gritty
After the designated steeping time, it's time to separate your cold brew concentrate from the spent coffee grounds. This step is crucial for achieving a clean, sediment-free brew.
Initial Strain: Pour the entire contents of your vessel through a fine-mesh sieve or a colander lined with cheesecloth into a pot or other container. This will remove the majority of the large coffee grounds.
Fine Filtration: For a truly smooth concentrate, a second, finer filtration is recommended. This can be achieved using:
Coffee filters: Place a regular paper coffee filter in a funnel or a sieve and slowly pour the already strained liquid through it. Be patient, as this can take some time.
Nut milk bags: These finely woven bags are excellent for filtering and can be reused.
A dedicated cold brew filter: If your cold brew maker has one, use it!
The goal is to collect the pristine cold brew concentrate, free from any sediment, ready for enjoyment.
Serving and Enjoyment: Your Brew, Your Way.
Now for the best part: enjoying your freshly made cold brew!
Serve over ice / Cut with water: This is the most classic and refreshing way to enjoy cold brew. The ice dilutes the concentrate to a perfect drinking strength. If it's still too strong, pour half a glass of concentrate and the other half water, mix and enjoy!
Straight up: For those who appreciate a bold, undiluted coffee experience, cold brew concentrate can be enjoyed as is. Be warned, concentrate is twice as caffeinated as regular coffee!
Storage: Keeping Your Cold Brew Fresh
Once filtered, your cold brew concentrate can be stored in an airtight container in the refrigerator for up to two weeks. This makes it a convenient option for busy mornings, as you can simply pour and go.
Now, dear reader, you’ll be ready to take on all of life’s challenges—well, at least the ones that involve making cold brew. So get brewing and go get 'em!

